Skip to content
Melting Into Flavors
Appetizers
Main Course
Beverages
Side Dishes
Expand
Soups
Salads
Desserts
Facebook
Instagram
YouTube
TikTok
Search
Toggle Menu
Main Course
Main Course
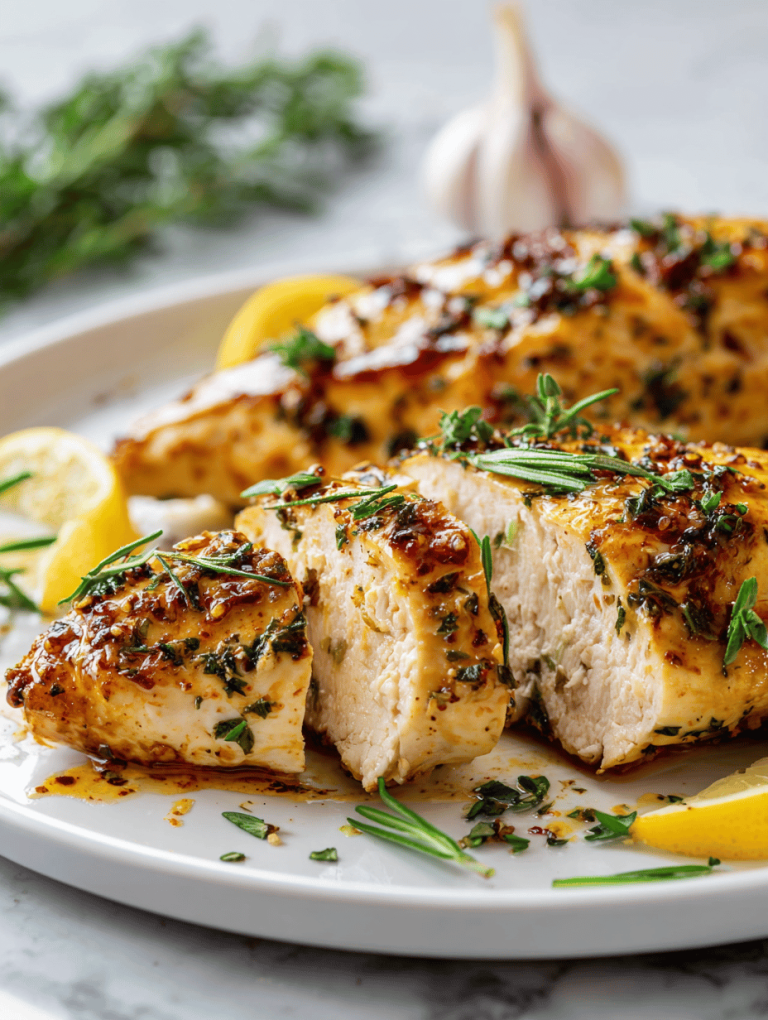
baked chicken breast recipes
Main Course
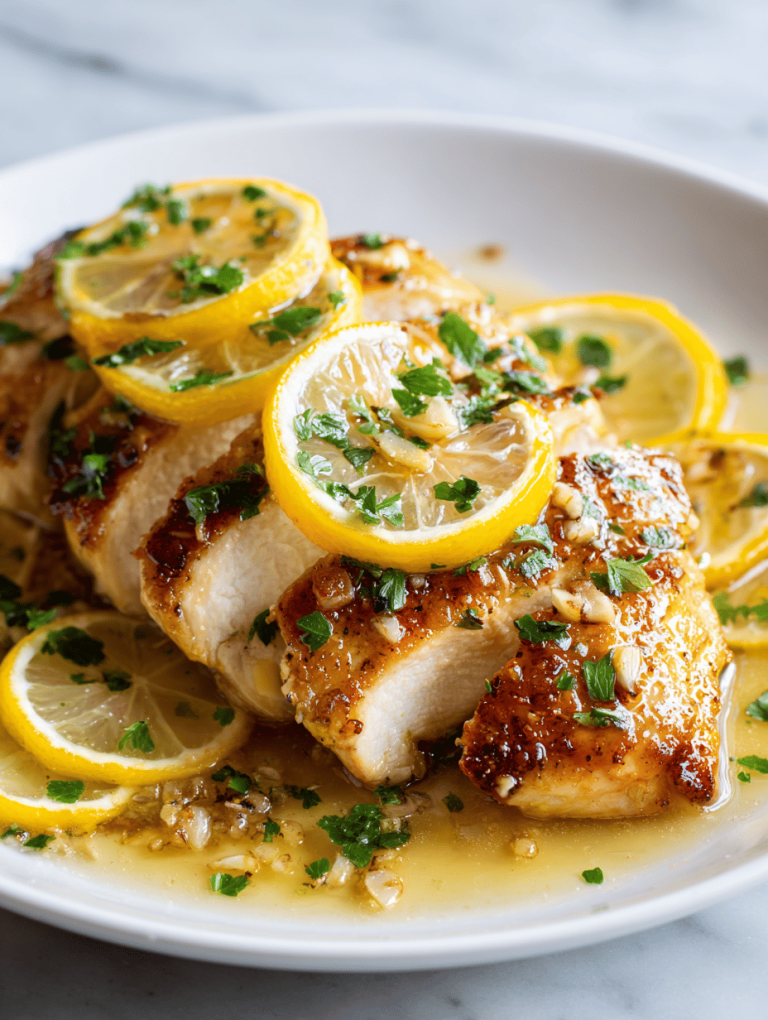
healthy chicken breast recipes
Main Course
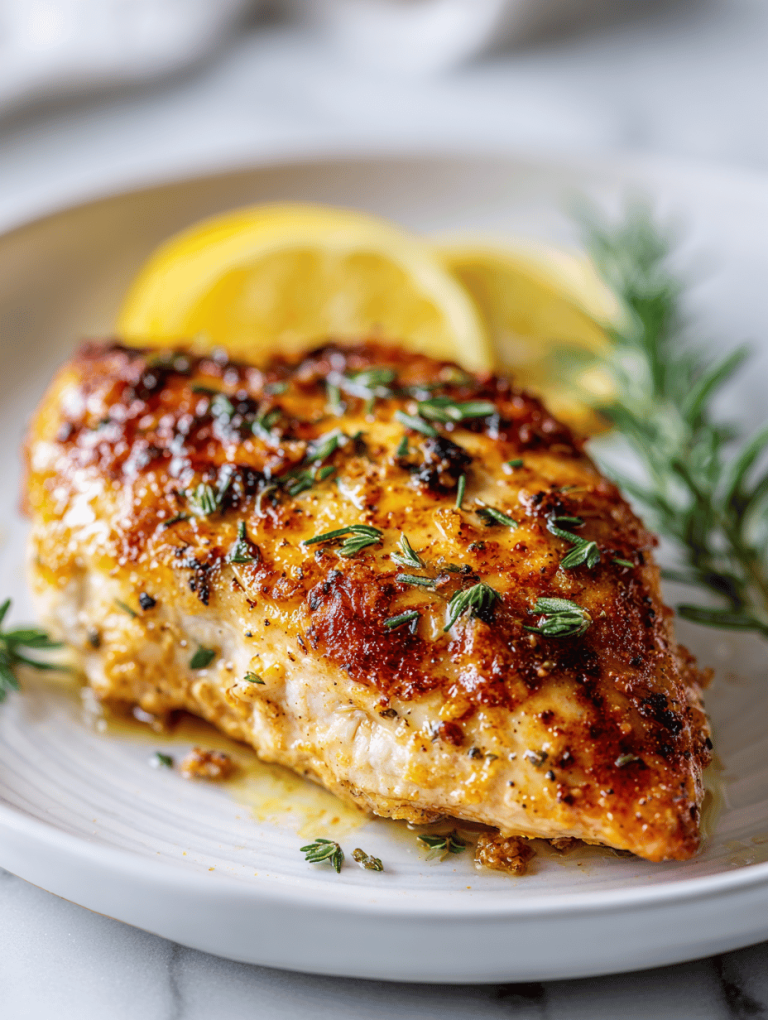
easy chicken breast recipes
Main Course
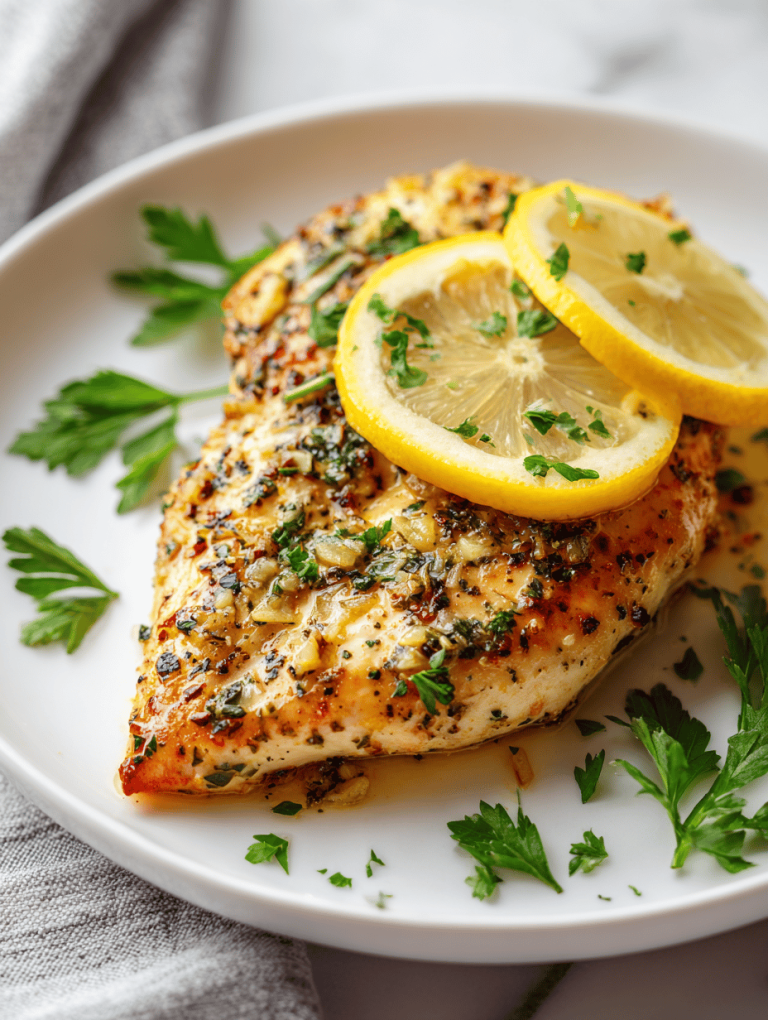
chicken breast recipes
Main Course
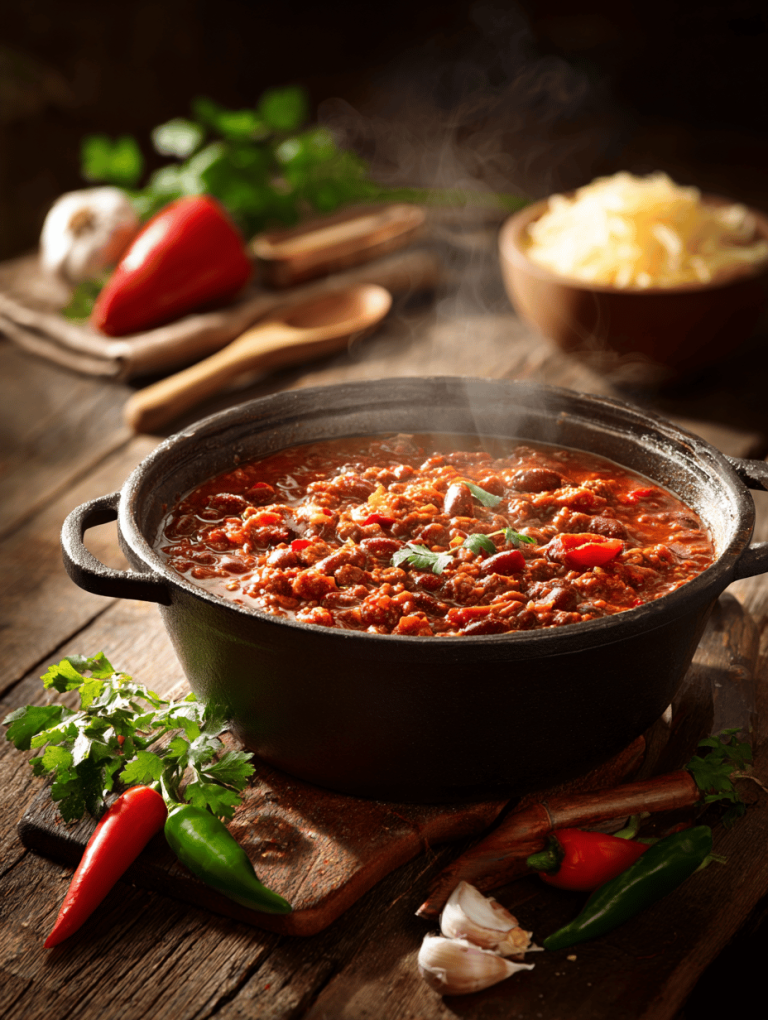
Best Chili Recipe: A Slow-Braised Revelation from My Kitchen
Main Course
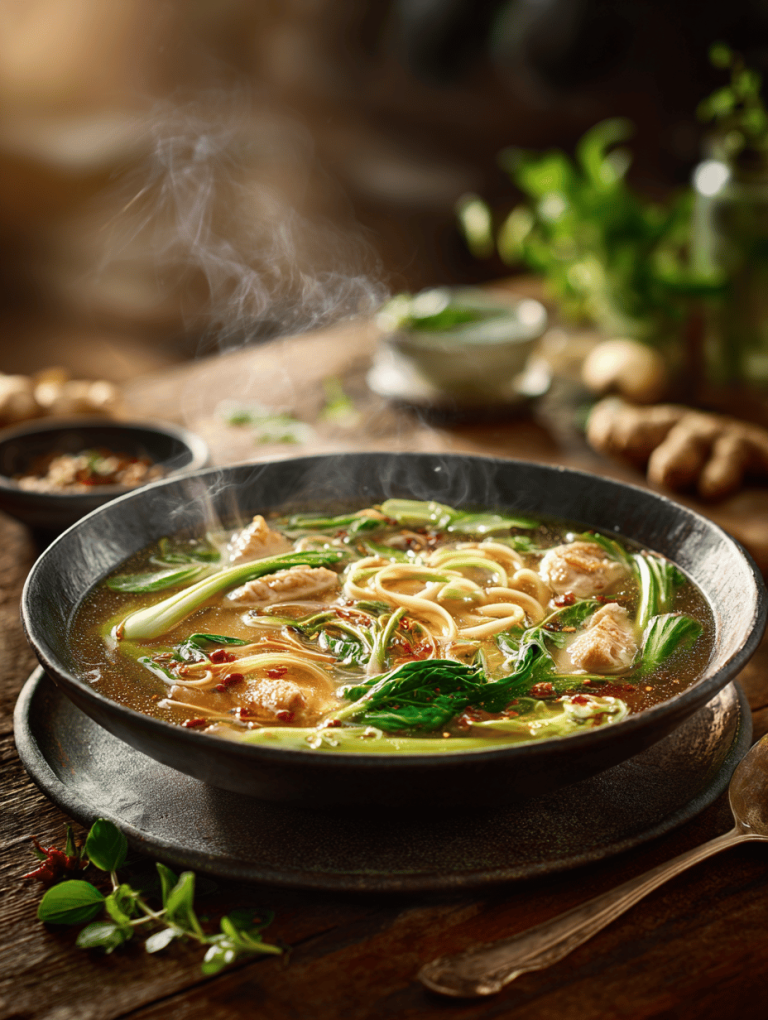
Chicken Noodle Soup Recipe: A Cozy Twist with a Secret Ingredient
Main Course
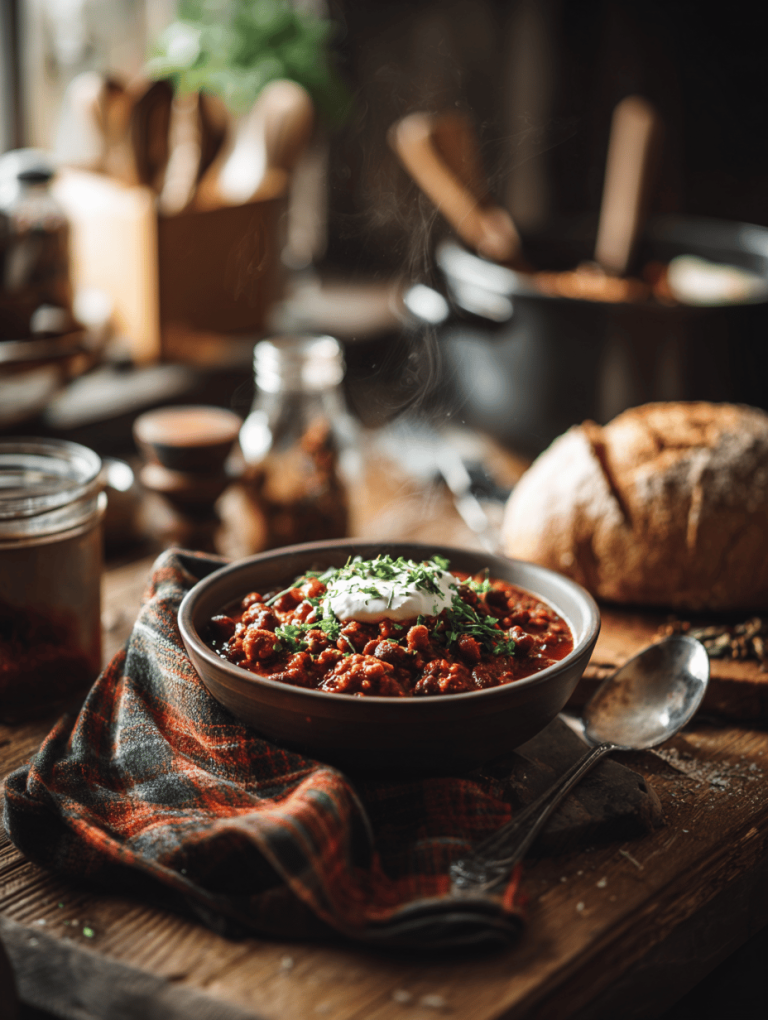
Unconventional Turkey Chili: A Cozy Twist with Unexpected Spices
Main Course
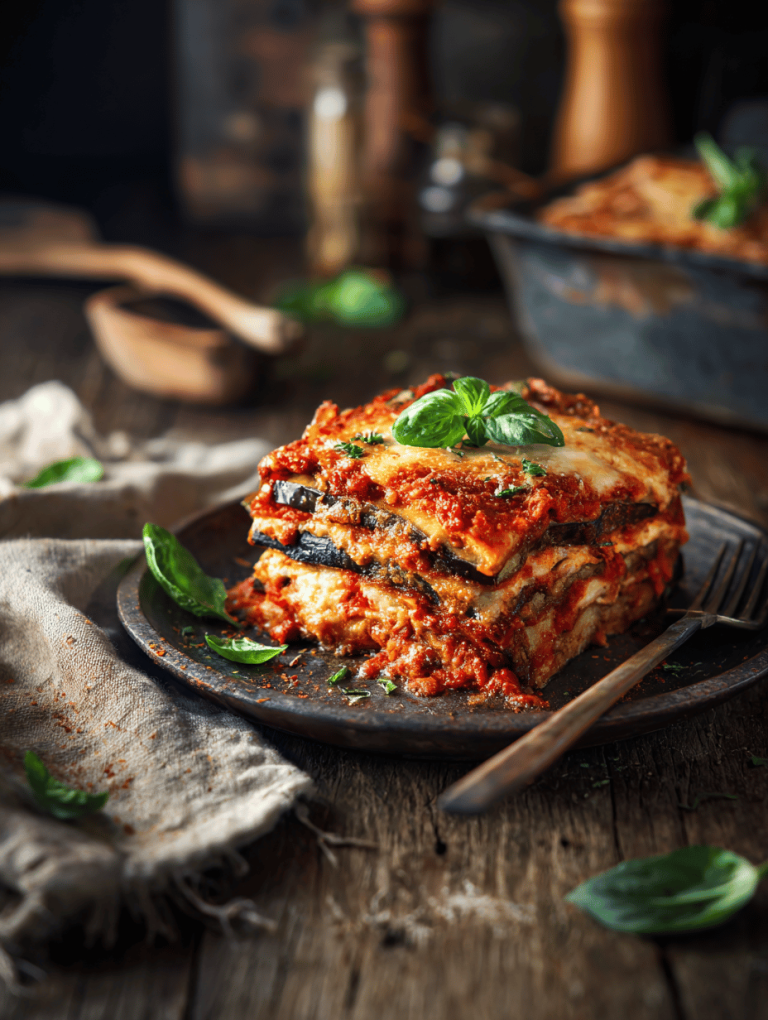
Eggplant Parmesan Recipe: A Cozy Classic with a Twist
Main Course
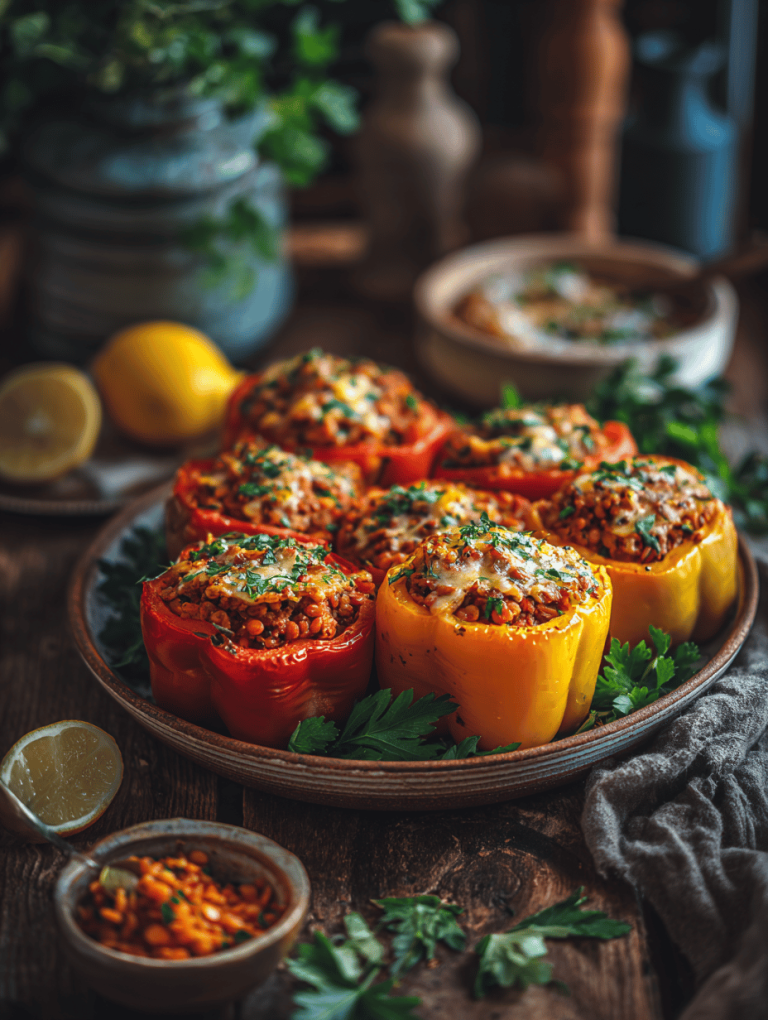
Stuffed Peppers Recipe: A Cozy Twist on a Classic
Main Course
Emeril Lagasse’s Jambalaya: A Deep Dive into the Soul of Creole Cooking
Page navigation
Previous Page
Previous
1
2
3
4
5
Next Page
Next
Scroll to top
Scroll to top
Appetizers
Main Course
Beverages
Side Dishes
Toggle child menu
Expand
Soups
Salads
Desserts
Facebook
X
Instagram
Toggle Menu Close
Search for:
Search