Skip to content
Melting Into Flavors
Appetizers
Main Course
Beverages
Side Dishes
Expand
Soups
Salads
Desserts
Facebook
Instagram
YouTube
TikTok
Search
Toggle Menu
Desserts
Desserts
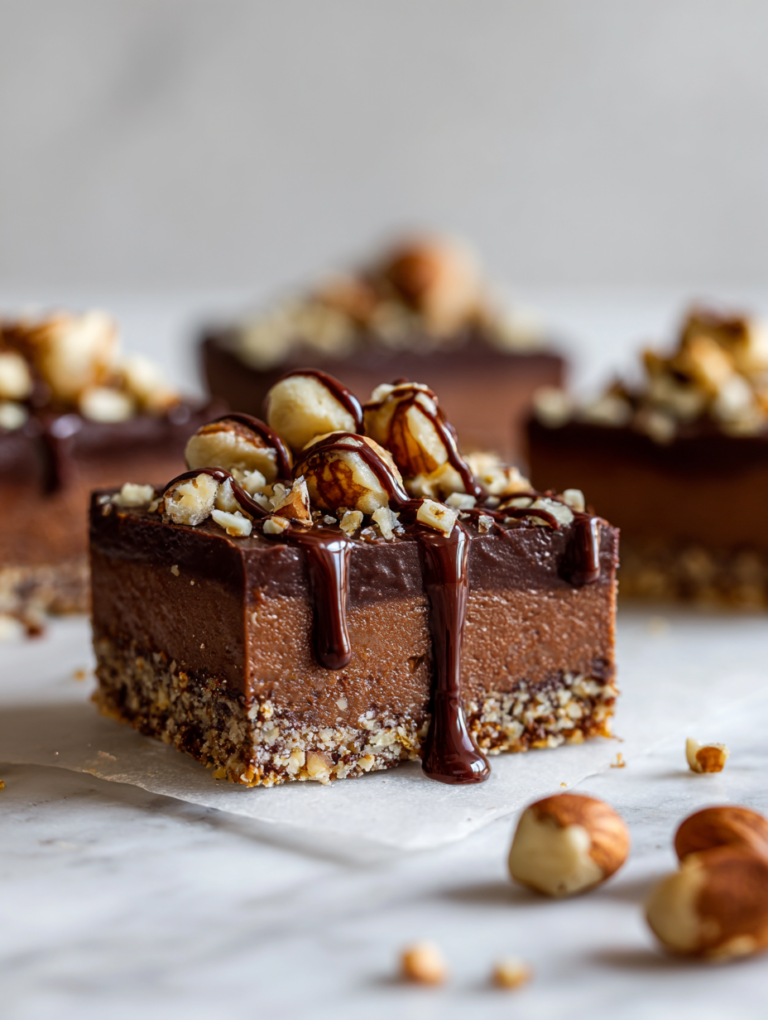
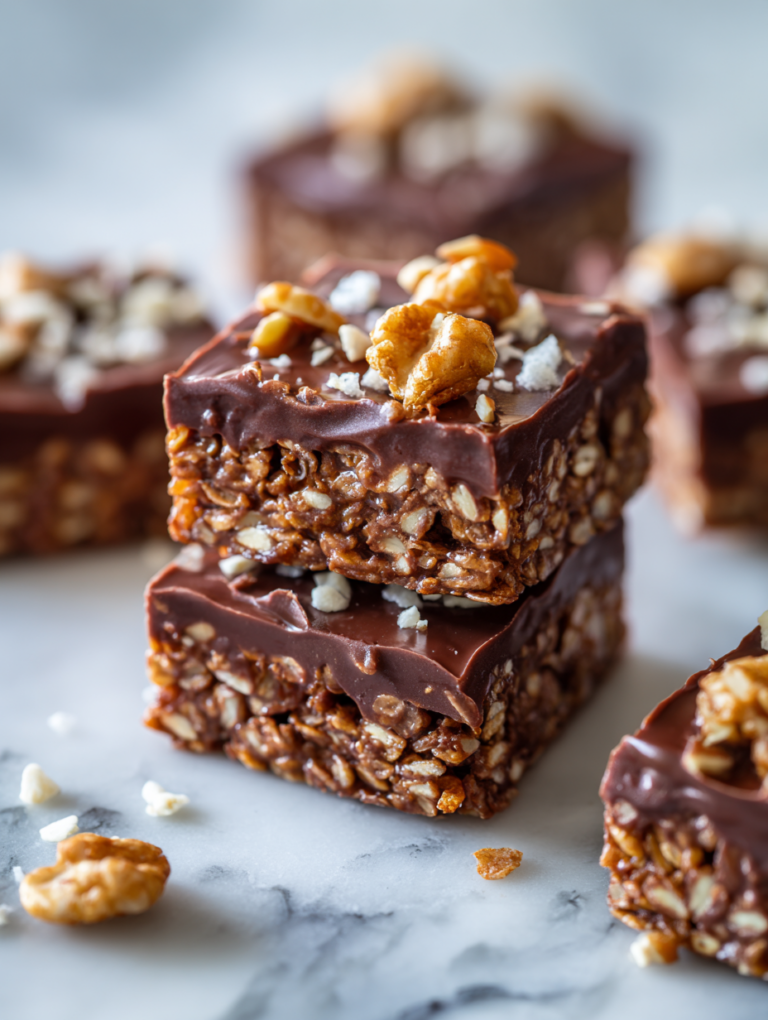
No Bake Chocolate Nut Slice Recipe
Desserts
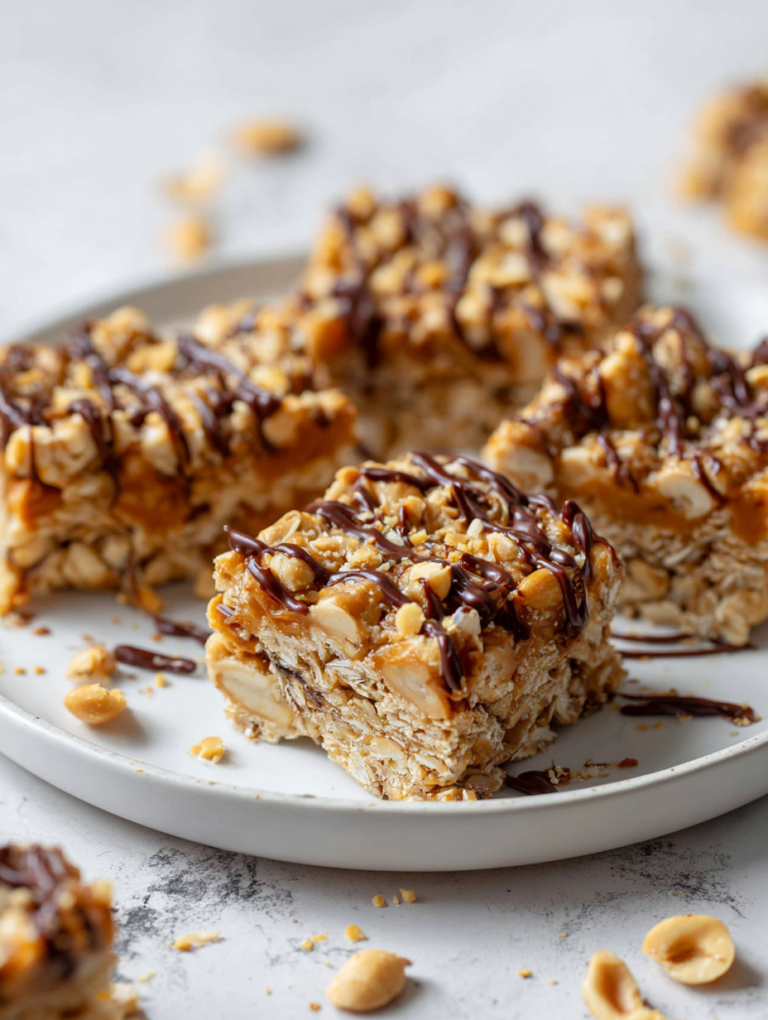
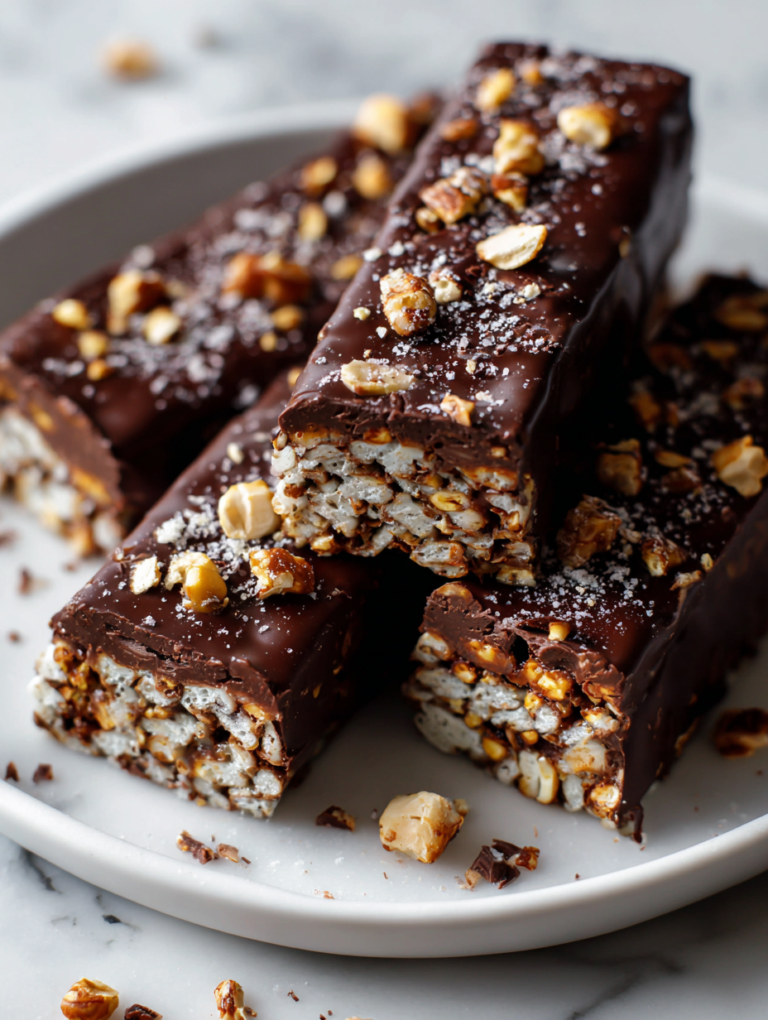
No Bake Peanut Oat Bars Recipe
Desserts
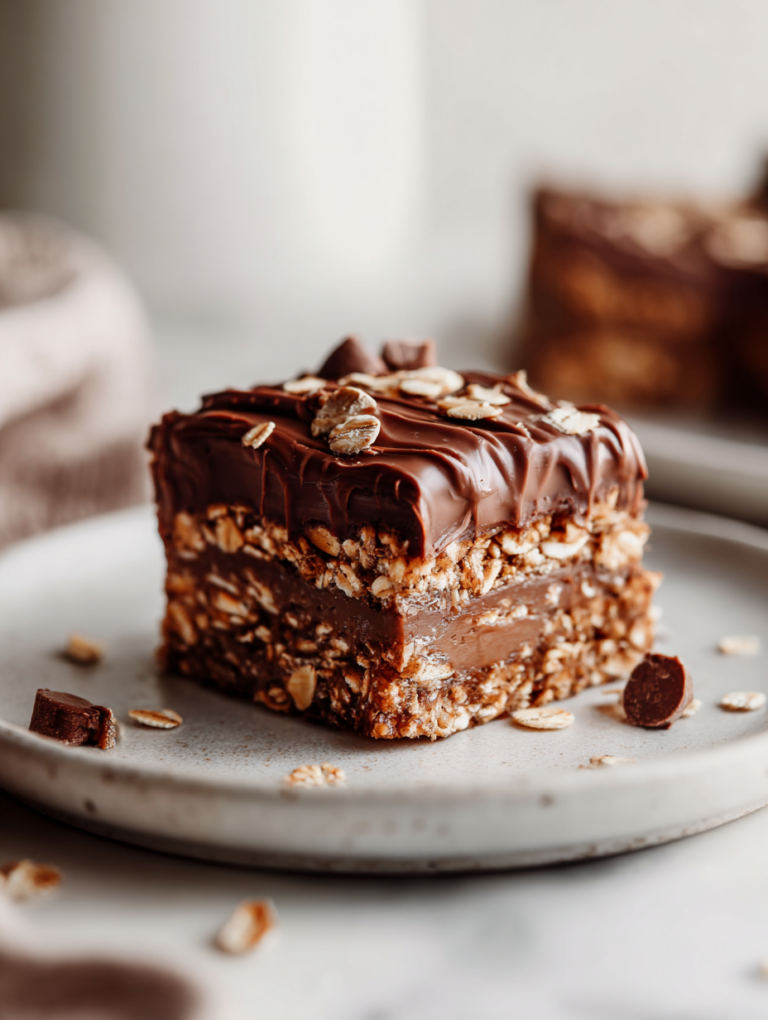
No Bake Chocolate Oat Slice Recipe
Desserts
No Bake Chocolate Honey Bars Recipe
Desserts
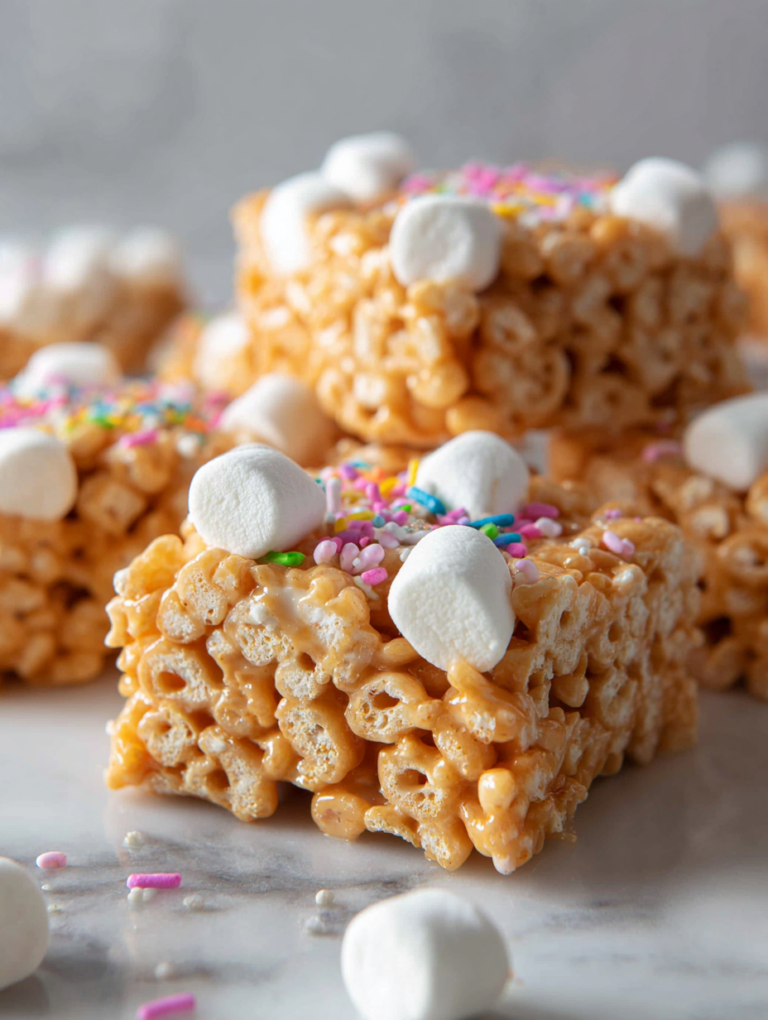
No Bake Marshmallow Bars Recipe
Desserts
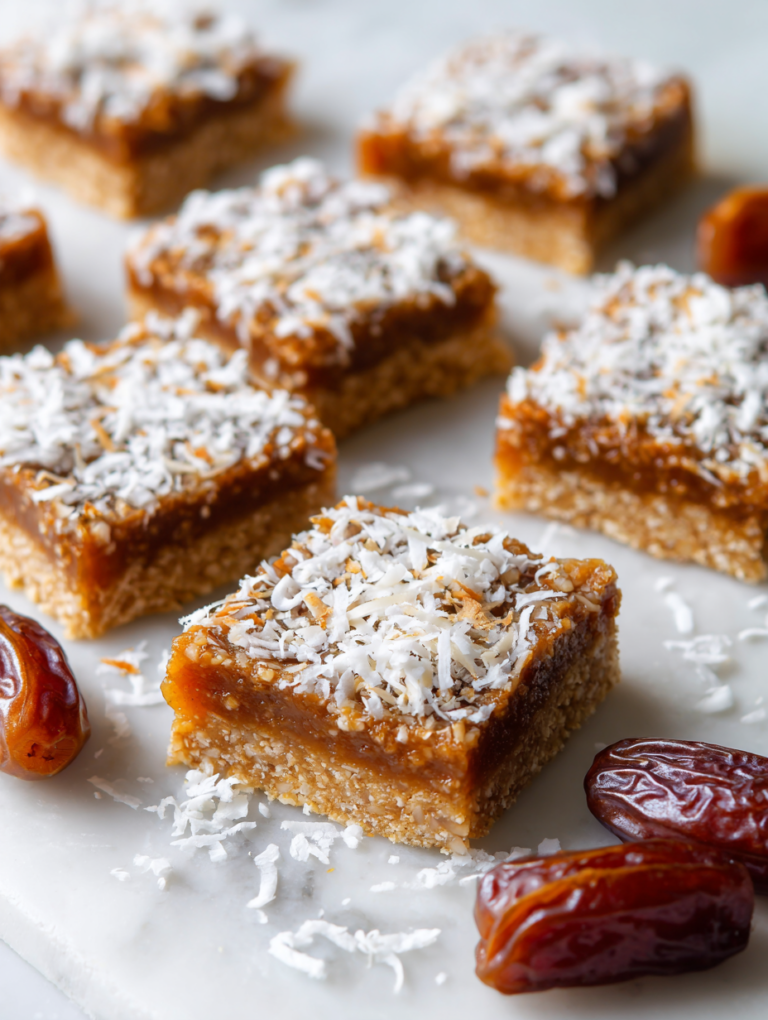
No Bake Coconut Date Bars Recipe
Desserts
No Bake Chocolate Cornflake Bars Recipe
Desserts
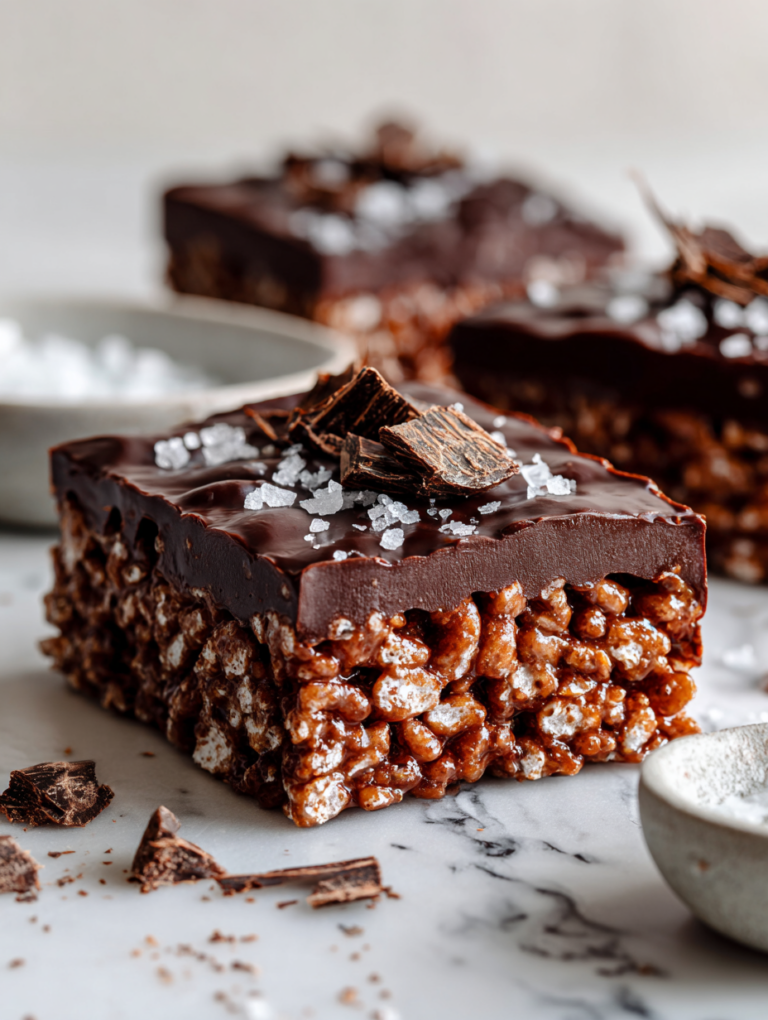
No Bake Chocolate Crunch Bars Recipe
Desserts
No Bake Chocolate Rice Bars Recipe
Desserts
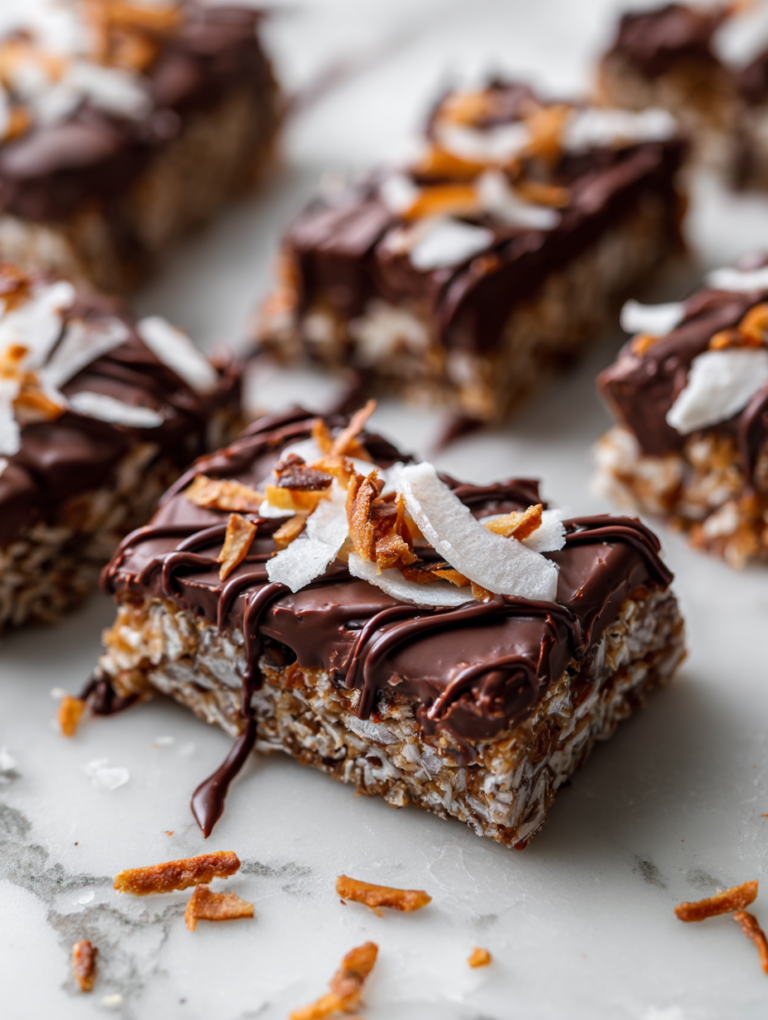
No Bake Chocolate Coconut Bars Recipe
Page navigation
1
2
3
…
7
Next Page
Next
Scroll to top
Scroll to top
Appetizers
Main Course
Beverages
Side Dishes
Toggle child menu
Expand
Soups
Salads
Desserts
Facebook
X
Instagram
Toggle Menu Close
Search for:
Search